Car Parasitic Drain Testing (Clamp Meter Edition): Measuring Parasitic Draw with a DC Clamp Meter
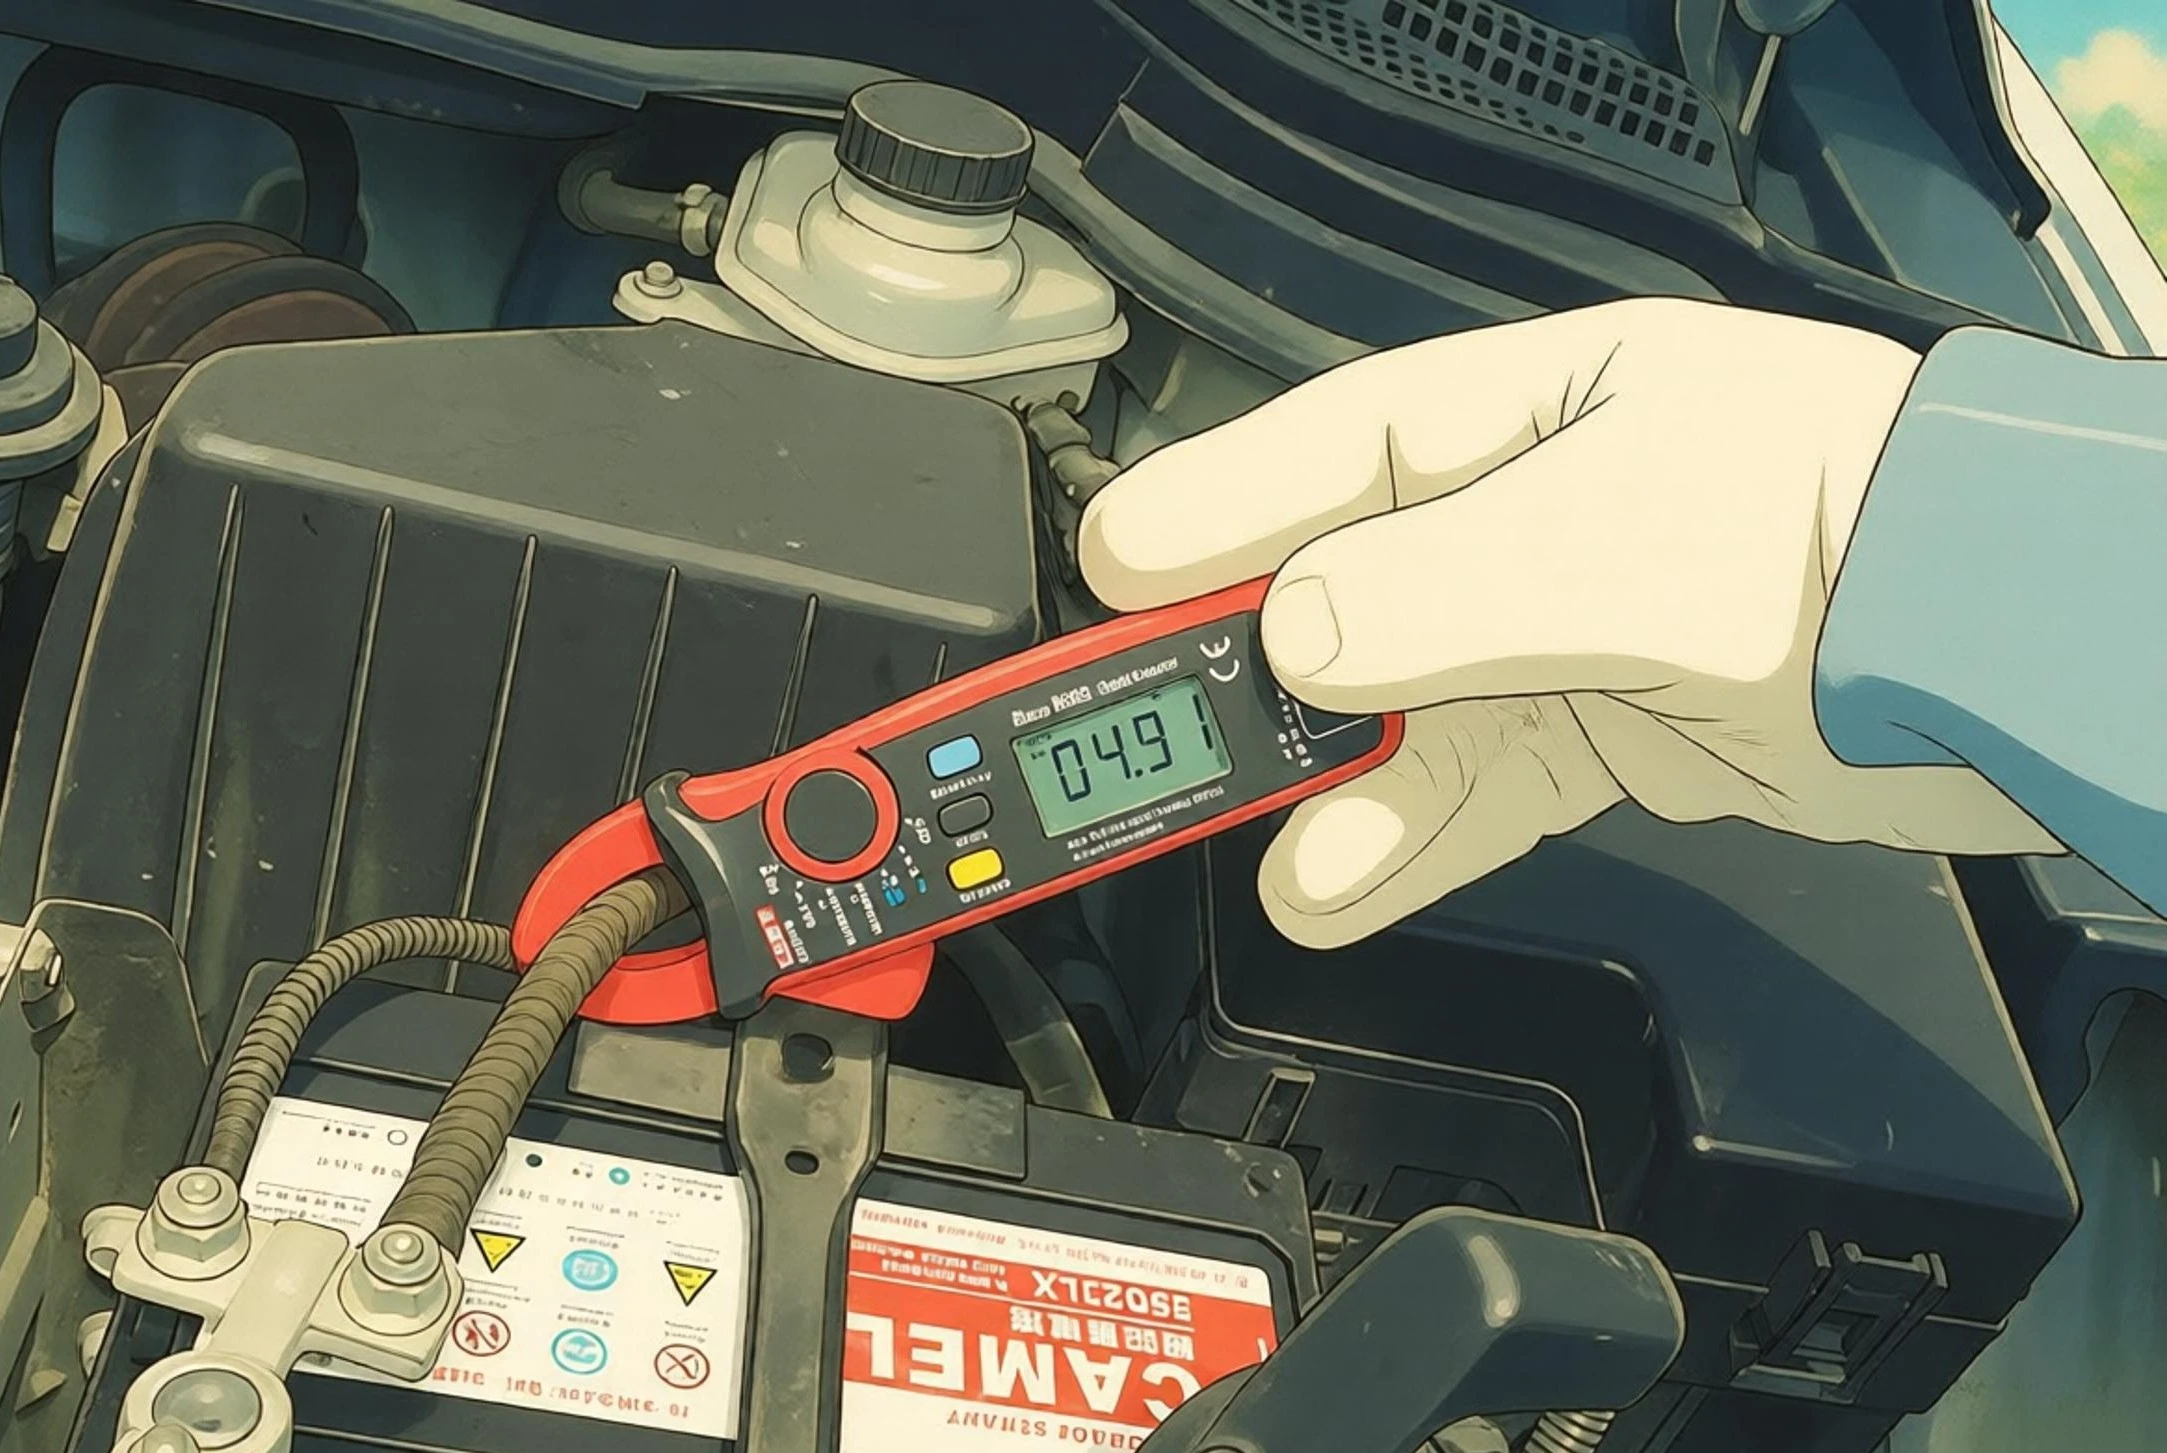
Struggling with a parasitic drain that leaves your battery flat after sitting for a few days, but worried about wrenching on battery cables, losing ECU calibrations, or blowing multimeter fuses?
A DC Microamp Clamp Meter is the cleanest and fastest solution. It offers 100% zero-disassembly, non-contact measurement—simply clamp around the negative ground cable to diagnose vehicle sleep current within seconds!
💡 Series Navigation:
If you don’t own a precision DC clamp meter and want to test using an inexpensive multimeter and bypass switch, read the first part of our series:
👉 Car Parasitic Drain Testing (Series Edition): Measuring Parasitic Draw with a Tester Switch
Step 1: Did You Buy the Right Clamp Meter? (3 Common Traps)
Many DIYers grab an electrical clamp meter from their toolbox, clamp the battery cable, see 0.00, and wrongly assume there is no leak. Here is why:
❌ Trap 1: AC-Only Clamp Meters
Standard residential clamp meters use current transformers (CT) designed exclusively for AC (Alternating Current). Car electronics run on DC (Direct Current), which produces zero alternating magnetic flux. An AC meter will never register DC current.
- Requirement: The meter dial and display must explicitly feature “DC A”.
❌ Trap 2: Excessive Range Lacking Milliamp Resolution
Industrial automotive clamp meters (400A - 1000A) are built for starter motors and alternators. Their minimum resolution is 0.1A (100mA), which treats 30mA sleep currents as negligible zero-noise.
- Requirement: Must have a 2A (2000mA) micro-current range with 1mA (0.001A) resolution.
✅ Recommended Standard (e.g., UNI-T UT210E)
In the automotive DIY community, the UNI-T UT210E (or equivalent compact meter) is widely favored because it features:
- DC 2A range with 1mA resolution.
- One-touch ZERO / REL offset calibration.
- Slim 17mm jaw that easily maneuvers through crowded engine harnesses.
Hall Effect Sensors & Geomagnetic Interference
DC clamp meters rely on sensitive Hall Effect Sensors to measure static magnetic fields. Because they are so sensitive, Earth’s natural geomagnetic field and nearby engine metal will register as current!
- Waving a 2A DC clamp meter in the air will cause numbers to fluctuate between
0.100Aand0.300A. This is normal physics, not a defect. - Mastering the “On-Site ZERO” procedure is the key to accurate readings!
Standard Operating Procedure (5 SOP Steps)
Step 1: Vehicle Prep & Hood Latch Disguise
- Turn off the engine, remove keys, and switch off all cabin lights.
- Roll down all four windows completely to avoid accidental lockouts.
- Open the hood. Use a screwdriver to push the hood latch down into the “closed/locked” position so the vehicle’s body computer registers the hood as closed.
Step 2: Lock the Car & Wait for Deep Sleep (15 - 45 Minutes)
- Close all doors and press the remote lock button.
- Keep smart key fobs (Keyless) at least 5 meters away from the vehicle.
- Allow 15 to 45 minutes for all onboard computers (ECU, BCM, CAN gateways) to complete shutdown cycles and enter deep sleep.
Step 3: Set Dial & Perform “On-Site ZERO” Calibration
- Turn the dial to the 2A range and confirm the display reads DC.
- Position the clamp 2 to 3 cm away from the target negative cable, maintaining the exact angle and orientation you plan to measure with.
- Press the ZERO (or REL) button to tare out environmental magnetic fields down to
0.000.
[!IMPORTANT] Do not press ZERO far away and then carry the meter to the car!
Changing the physical orientation of the clamp relative to Earth’s magnetic poles shifts the baseline reading by tens of milliamps.
Step 4: Clamp Around the Negative Ground Cable
- Squeeze the trigger and clamp around the main negative battery ground cable.
- Center the Wire: Keep the cable centered inside the jaw alignment markings; do not wedge it against the jaw hinges.
- Keep your hands steady and observe the display.
Step 5: Evaluate Parasitic Draw
| Reading (2A DC Range) | Assessment | Status & Action |
|---|---|---|
| 0.020A - 0.060A (20mA - 60mA) | ✅ Normal | Healthy standby draw (clock, alarm memory). Battery lasts weeks. |
| 0.060A - 0.090A (60mA - 90mA) | ⚠️ Elevated | Check standby accessories (e.g., parking mode dashcams). |
| > 0.100A (100mA+ to several Amps) | ❌ Severe Leak | Drains battery within days. Immediate branch isolation required! |
Pro Diagnostic Technique: Fuse-Free Branch Isolation
A major advantage of a clamp meter is the ability to track down leaks across individual wires without pulling fuses:
1. Check the Alternator B+ Heavy Output Wire
- The Culprit: Internal rectifier diode breakdown inside the alternator allows battery power to leak directly to ground. This is a common failure that interior fuse pulling will never reveal!
- How to Test: Clamp the heavy red B+ output wire on the back of the alternator. Sleep draw on this line should be strictly 0.00A. If you see 0.5A - 3A, the alternator rectifier is blown—replace the alternator.
2. Check Ground Straps and Harness Trunks
- If your vehicle features multiple ground straps, clamp each individual strap to determine which zone (engine bay vs. cabin) contains the parasitic leak.
3. Check Aftermarket Power Feeds
- Clamp directly onto inline fuse leads for aftermarket amplifiers, Android head units, or dashcam hardwire kits to spot phantom draws instantly.
Comparison: Series Switch vs. DC Clamp Meter
| Evaluation Criteria | Method 1: Parasitic Tester Switch + Multimeter | Method 2: DC Clamp Meter (e.g., UT210E) |
|---|---|---|
| Disassembly Required | Requires loosening negative clamp (M10 wrench) | 100% Zero-Disassembly, No Tools Needed |
| Operational Risk | Must follow SOP to prevent blown meter fuses | Zero Short-Circuit Risk, Non-Invasive |
| Measurement Precision | ⭐⭐⭐⭐⭐ Extreme (resolves to 0.1mA) | ⭐⭐⭐⭐ Good (approx. 1mA - 5mA tolerance) |
| Environmental Immunity | Completely immune to geomagnetic drift | Requires careful on-site ZERO calibration |
| Tool Cost | Low (inexpensive switch + generic multimeter) | Moderate (requires specialized DC mA clamp) |
| Diagnostic Mobility | Requires sequential fuse pulling | Freely clamp various branch wires (e.g., alternator) |
Conclusion & Buying Advice
- For beginners or fast checks without pulling wrenches: A compact DC clamp meter with a 2A range is the safest and most convenient diagnostic investment.
- For chasing subtle phantom drains (30mA - 50mA) requiring long-term zero drift stability during fuse pulling: The Parasitic Drain Tester Switch with a digital multimeter remains the unbeatable gold standard!